Factory Tour: Gibson Montana’s Acoustic Guitars
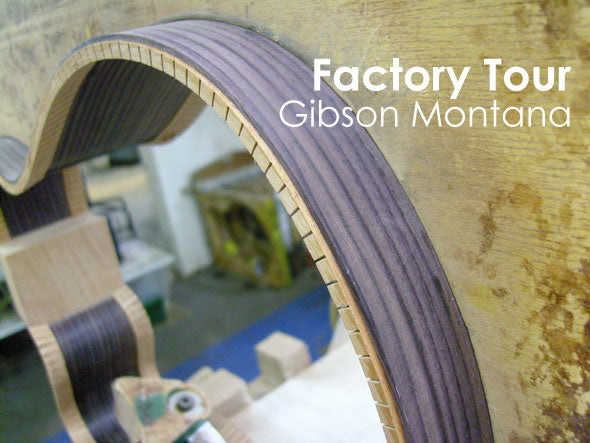
Robert Johnson. Woody Guthrie. George Harrison. Elvis Presley. Pete Townshend. Bob Dylan. The list of players who have made deep impressions on contemporary music using a Gibson acoustic guitar is long, and star studded. Just as long is the road from early 20th century Kalamazoo, Michigan to Bozeman, Montana, where Gibson’s acoustic guitars were reborn in 1989 to carry on the proud tradition. The Music Zoo recently toured the Bozeman plant, and saw just how much handwork and tradition goes into making each flattop Gibson. (hint: a lot). Join us as we take an up close look at the inner workings of this surprisingly old-school guitar factory.
First, a little history. Although Gibson had already mastered archtop acoustic guitar production by the 1910s, the company didn’t see the need to make a flattop guitar until 1926, when the L1 appeared. This early Gibson flattop lacked a truss rod, had rigid cross bracing within its small body, and came off as more of a beginner’s guitar than a real contender. But over the next ten years, and despite the Great Depression, Gibson learned exactly what it took to produce world class flattop acoustic guitars. The models designed and executed during this period include the Advanced Jumbo and the legendary SJ-200. Just a few years later, during WWII, Gibson rolled out the J-45 and the Southern Jumbo, all are classics today. By the 1960s, Gibson had introduced popular models such as the Hummingbird, Dove, J-160 and J-185. Gibson had done something quite special by then, having made all at once some of the world’s finest flattop acoustic guitars, solid body electric guitars, archtop guitars, and of course mandolins and banjos. But this bounty of success would not last completely uninterrupted. Production techniques designed to increase profit rather than tone infected all the guitars in the 1970s, and by the early ’80s the once famous Gibson acoustic guitars had hit a dead end.
But there was hope.
Word got through to Gibson’s new ownership (who were players themselves) that there was a small group of luthiers in Montana making fantastic mandolins under the name of Flatiron. Originally thought of as a smart acquisition for mandolin production, it soon became obvious that Bozeman, Montana
could be the place where the defunct Gibson acoustic guitar line could be revived. A new facility was created, employees were gathered and trained, and the first handmade Gibson acoustic in many years was produced in 1989.
All guitars start with the raw materials, and here we see Gibson’s cadre of tone woods. That’s a lot of spruce, maple, and rosewood. One thing that was reinforced to us as we took the tour was how improved the routing was that a guitar would take as it made it’s way from raw materials to the shipping box. In the last few years changes made to the layout of the stations a guitar visits along the way have cut hundreds of feet out of this journey, greatly improving efficiency.
The very first step we saw involves arguably the most important part of the acoustic instrument: the top. It all starts with gluing two matching pieces together to create a strong and resonant structure. Here we see a Mahogany top after it has been glued.
After the tops have been glued, they need to be sanded. That’s where these guys come in. Loaded with huge reels of sandpaper, the operator can choose between different grits depending on the application. Looks like 80, 100, and 120 grit are loaded up here.
Here’s where the sanded tops come out of the sanding machine. The rubber conveyor belt is perforated and has powerful suction, keeping the tops from moving as they pass underneath the spinning sandpaper belts.
This worker is about to route the soundhole in the freshly sanded top. At some other factories we’ve been to, this step may have been performed by a laser guided machine, but at Gibson it’s still done by hand.
Like the tops, the backs are bookmatched and joined together. Here’s the union of some gorgeous quilted maple.
There are some hi-tech operations happening in Bozeman. Here a computer controlled router is shaping a neck all the way down to the heel. A real human builder may fine tune the neck shape by hand later on, but having the machine do the heavy lifting here creates accuracy and consistency.
Here’s the result, perfect every time.
These rosewood pieces will be used to create the sides of the guitars. They use a different shape depending on whether the guitar will have a cutaway or not.
The wood used for the sides is first soaked in water and then pressed into shape using the electric presses seen here.
If a side needs a little extra help in the middle, this manually operated press will do the job. Many of the machines used today in Bozeman were actually built by Gibson many decades ago.
Here’s how they sand the sides, front and back, at the same time. The operator on this station needs to be careful to use feel to get the right pressure on the sander as the pieces pass through the roller.
These sides, maple in the foreground, rosewood behind, are ready to go.
Putting it all together. Here we see that the sides have been joined together and the neck block and the tail blocks are installed, as well as the kerfing. The kerfing is the flexible wood strips that line the top and bottom of the sides, and is responsible for creating a tight fit between all the major body components.
Because the kerfing plays such a crucial role in the structure, it’s important to get it glued on tight. Here the kerfing is clamped down around the perimeter of the sides.
Here’s a closer look at the kerfing after it’s been glued in. It’s lined up perfectly with the sides and will yield a rock solid fit with the top of the guitar.
Speaking of the top, here’s a view that you don’t usually see. The back of the top has carefully placed cross bracing to aid in the strength of the top. If you look closely you can see that the braces have been scalloped as well. Scalloped bracing allows a top to vibrate and pump air at a higher velocity, as well as allowing Gibson Luthiers to fine tune the resonant tones produced by the top. Almost every Gibson Acoustic guitar is built with scalloped bracing as a standard feature, a feature that is most often an expensive addition in other brands of acoustic guitars.
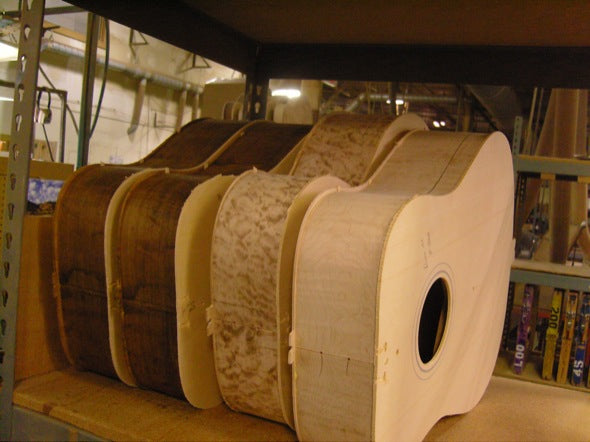
These bodies are now assembled structurally. The rough edges and assist tabs that are still there will be trimmed and sanded soon, and to us this shows how old school the Bozeman factory still is. This could be a scene from the 1950s.
Here the body has been routed on the edge for binding.
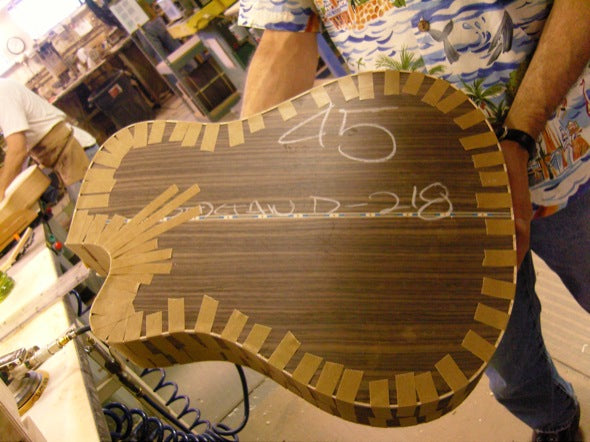
We’ve said it before and we’ll say it again: we love some wood binding. Here the wood on the edge has been matched with a nice black/white/black strip of plastic binding for a beautiful finishing touch. A lot of tape holds the binding on tight while the glue dries.
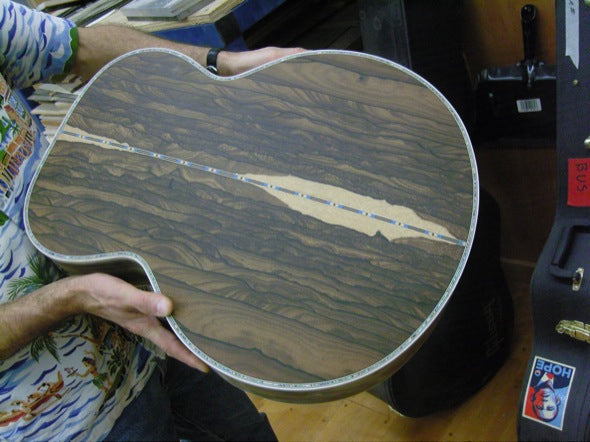
Here’s a better look at the guitar with the sweet wood binding; it’s a custom order with a beautiful Native American inlay down the back.
Resting guitar bodies that are finished and still taped up with binding tape. This shot illustrates that Gibson is making a variety of guitar models by hand every day. It’s not an endless rack of identical guitars, it’s a real hands on workshop. We got the impression while we were there that the locals who work in the Bozeman plant really do take a lot of pride in what they do. They know that they are restoring some glory to a proud tradition of American acoustic guitar building through again making the Gibsons as good or better than any time in their 117 year history.
Here’s another automated process. This robotic router is carving the famous Gibson headstock shape.
After the headstock has been shaped, the logo and inlay can be installed.
The fretboard. Gibson will fret and finish these as a unit before installation on the guitar.
Here’s the manual press used for installing the frets. It doesn’t really get much more old school that this; the builder must use just the right pressure to seat the fretwire perfectly. A lot of feel goes into doing this right on this manual press.
Sorted and ready to go, these fretboards will soon find their ultimate home on the guitar neck.
When it is time to glue the fretboard to the neck, these guide holes are used. Using a dowel, this is how they guarantee the board will be in the exact right spot on the neck.
Innovation is encouraged in the workshop in Bozeman. Here, we see the neck (face down) being glued to the fingerboard. Because the fingerboard has a radius, it was a challenge to get the boards pressed onto the neck evenly with a conventional press. One worker had the idea of using a piece of inflated firehose (seen just behind the red ball) inside the press to contour itself to the curved shape of the back of the neck and apply more even pressure to the fingerboard. It works great and the firehose can take a massive amount of pressure before failing.
The all important neck fit is about to take place, but first the neck has to be fine tuned to fit perfectly with the body. Here’s a worker sanding the neck heel. Getting the neck fit and angle just right is one of the key jobs of building the entire guitar, as a compound dovetail neck joint must be final fit by hand. With margin for error of less than 1 degree, the fit must be perfect in order for the guitar to sound and play correctly.
The neck fit was a success, and now the fingerboard will be masked off for protection. The guitar is about to be completely sanded in preparation for paint.
This crew of workers are all sanding the finished guitars before they head off to the paint booth. It is a busy place, the pace was quick and determined.
Assembled, sanded, and ready to move to get some color. Note the plastic tub installed inside the soundhole in order to prevent overspray from entering the guitar body.
By the afternoon, most of the spraying of lacquer has been done already so we didn’t get to see any actual spraying, but we did see this moving conveyor line of guitars as they dried. This is similar to a system we saw in Nashville in the Custom Shop and USA plants.
Here’s a sunburst finish just sprayed. It hasn’t yet been polished to the high gloss finish, and is as fresh as paint gets. Notice how the binding is actually covered up by the paint. Next, it will be carefully scraped away.
This is one of the most specialized jobs in the whole plant. Using a microscope slide, this worker is scraping away the paint on top of the binding. One wrong move and it’s game over for this paint job. Scraping the binding is a Gibson tradition going back decades. We’re amazed at her steady hand and perfect result.
We have to stop and mention Ren Ferguson. Ren is the master luthier at Bozeman and is responsible for some true works of art that have come from there. He unfortunately wasn’t there that day, but we got to see his workshop and some of his recent projects.
A gorgeous, intricate combination of wood and binding on this guitar Ren was busy with.
Ren has some very talented apprentices who work alongside him, one of whom is skilled at woodburning. Here’s a great example of a woodburned pickguard for a custom order.
Another very cool woodburned pickguard.
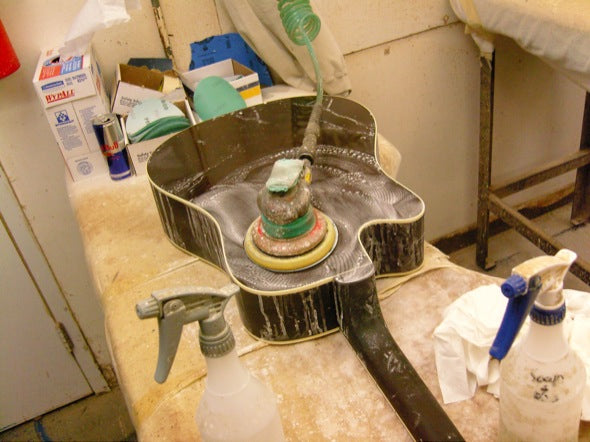
Moving back out into the plant, there are only a few steps left before we’ll see a completely finished Gibson guitar. Here a worker is using an orbital sander and a lot of water to wet sand the finish on this guitar.
Finally the bridge is installed onto the top using high strength glue. This guitar will soon be ready to string up! The finish below the bridge is removed prior to glue up allowing the bridge to connect directly with the raw wood in the top of the guitar.
The buffing room. It takes a lot of strength and endurance to do this all day. The buffing wheels require a careful touch or else the paint can burn, and the speed at which they spin can easily knock the guitar to the floor, destroying the guitar. These expert Buffers seldom if ever lose an instrument.
It was neat seeing box after box of those familiar Gibson tuning machines. In this assembly room the guitars will get the tuning hardware, the nut, strings, and an expert setup to highly specific Gibson tolerances.
At long last, the steel meets the wood. Intonation, action and neck angle will all be double checked here. This John Lennon J-160E is so close!
Final inspection. We imagine this guy has one of the best jobs in the place, he gets to play them all! Once it’s tuned up it goes into the case and right around the corner, where the stock room is.
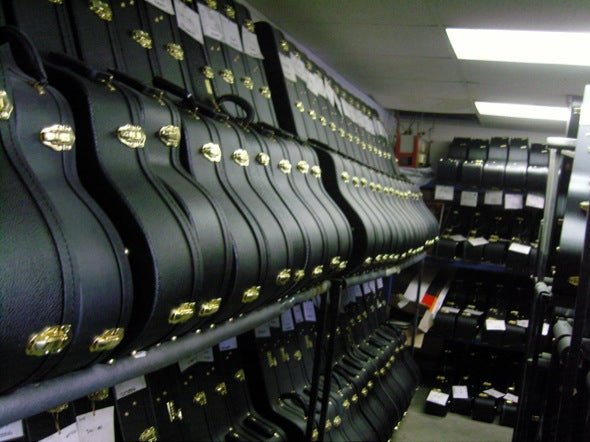
Demand for Gibson Montana guitars is worldwide. This stock room fills up every day, and will empty out every day shipping to countries around the world.
These guitars are boxed up and ready to ship. In keeping with the organization and flow within the building, this part of the plant is on the other end of the route from the raw wood, where we started. Once they go out this door, it’s onto the truck and then to The Music Zoo! We were deeply impressed with the level of handcrafting and skill that goes into making every one of these new Gibson Montana acoustic guitars. Special thanks to Gibson’s Don Ruffatto for graciously hosting our tour and visit.


