Factory Tour: Fender Custom Shop Acoustics, Part Two
Factory Tour: Part One Part Two Part Three
We saw in part one of our tour of the Fender Custom Shop Acoustic factory how religious the New Hartford, Connecticut builders are about acquiring and selecting the best tonewoods. Next we’ll see them put the wood to work.

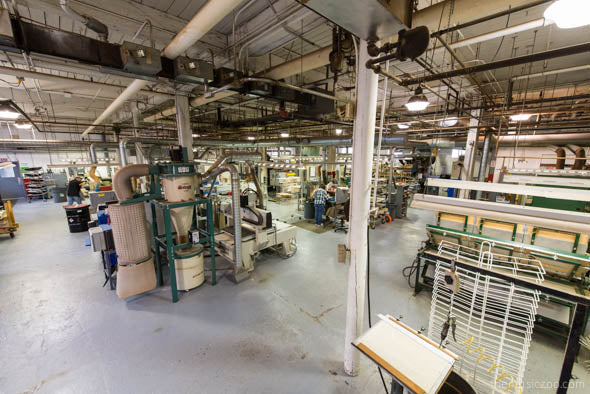
Although the facility lives inside a 160-year-old maze of industrial brick, the factory floor is logically laid out in a loop of stations.
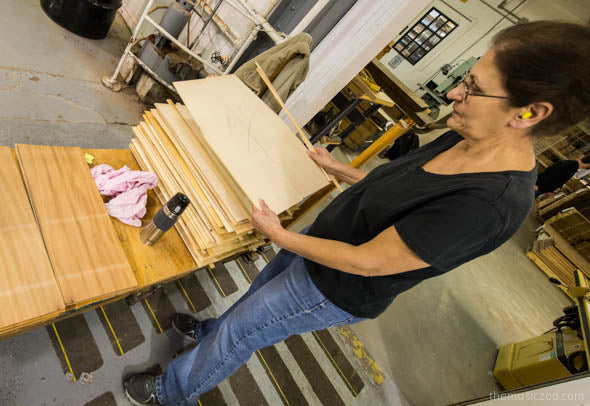
Here we see Deb matching booksets that will become the tops and backs of the guitars.
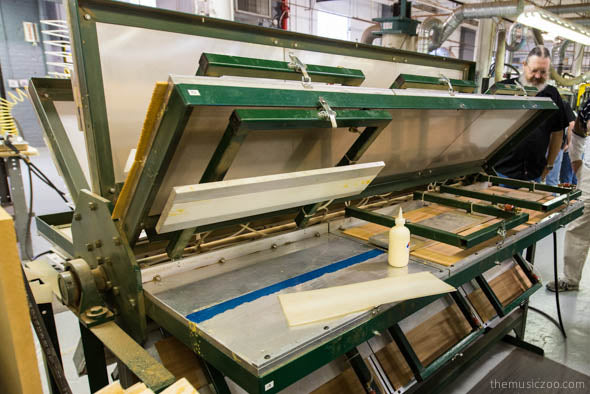
These are bonded together with glue and put into this fixture until they’re dry.
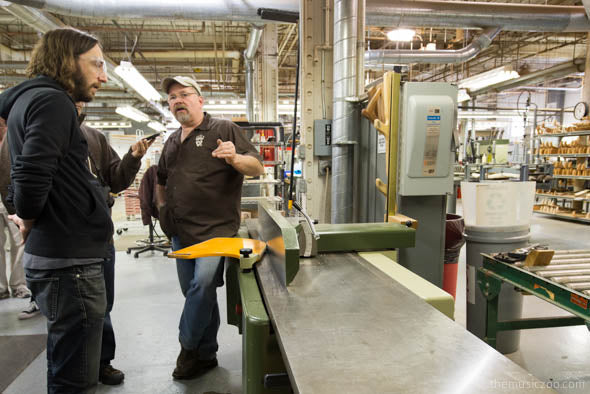
The wood is strongly bonded together now, but it’s far too thick. They’ll run the wood through this thickness sander and take it down to about .140 for now. The wood will be thinned further down the line. Then the part goes to the “supermarket” where all the tops and backs are kept.
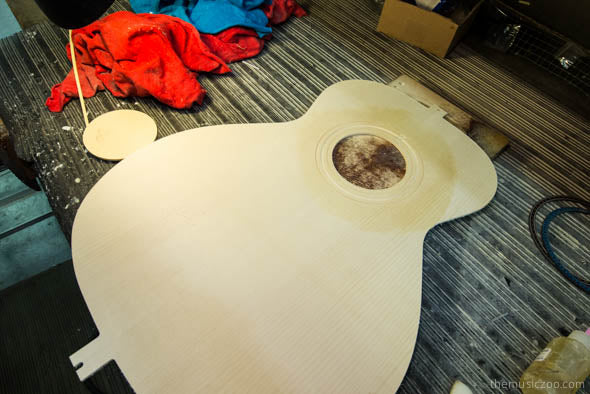
Next, the tops are put through a milling machine that has instantly transformed it into something that looks like a guitar. Aside from the specific shape profile for that model, locating pin holes and precise routing for either a rosette (if it’s a top) or a back strip have been performed.

A worker is creating the rosette she’ll inlay purfling into the route on this top. It’s precise, and beautiful work.
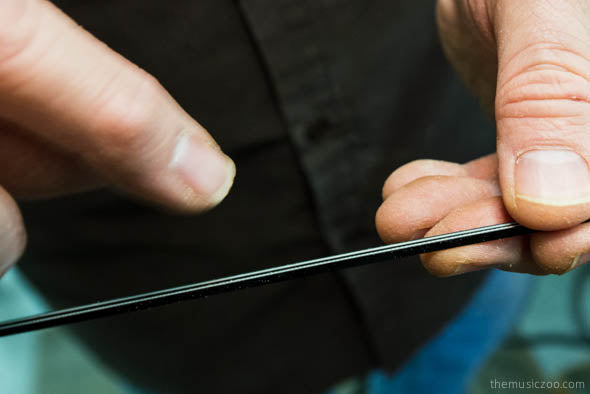
One of the cool things Fender does is use very subtle variations in their purfling. It’s hard to even notice in this photograph, but that’s the difference between grained ivoroid cross-cut versus non-cross-cut. The devil is in the details.
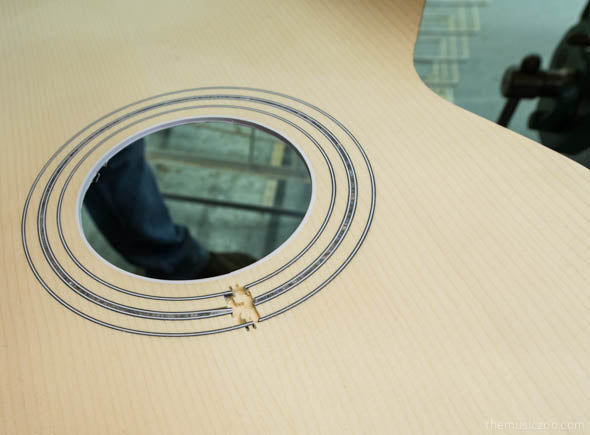
A finished rosette. The area with the gap will be hidden by the end fretboard later.

Here are some different types of rosettes, made from some really interesting purfling. You’ll find the one of the right on Guild Orpheum models, and that slick blue one on the left on the new Fender Custom Shop Ren Ferguson guitars.
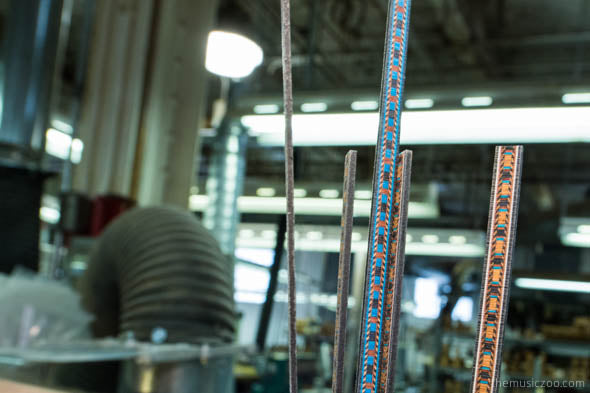
Here’s the same purfling, but as back strips.
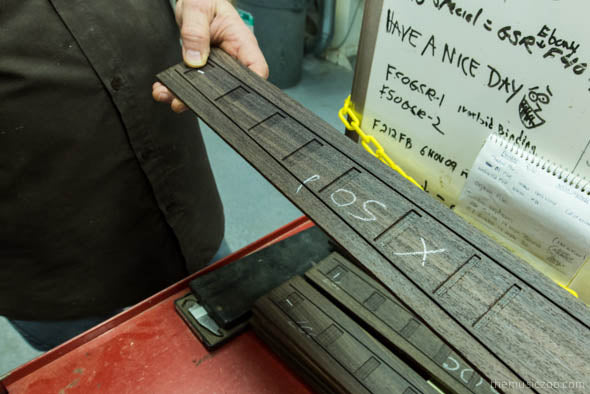
The same type of thing happens with the wood used for the fingerboards. These boards are routed and profiled, and then sanded…

…in this “time saver”. We can only imagine how sore everyone’s arms must of been back before they invented stuff like this.
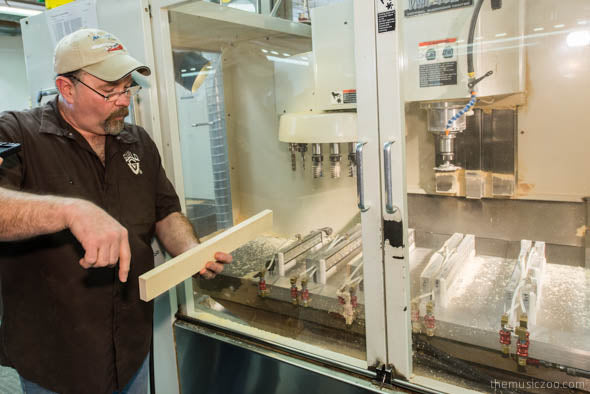
But that machine is grade school math compared to this one. Darren’s holding a billet of spruce that has been rough cut to fit the length of one of the pods inside this custom machine that will create the inside bracing of the guitar.
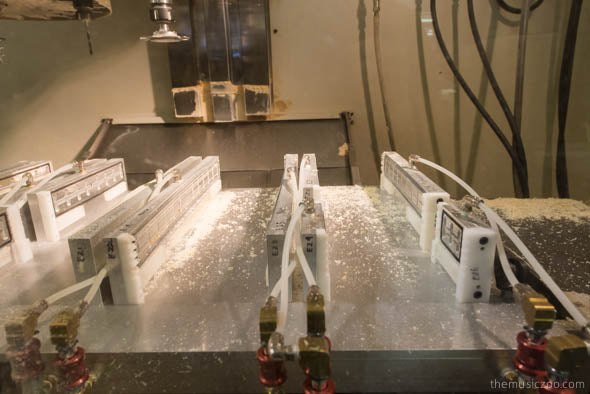
These pods already have the curved radius of both the eventual top and the back built into their shape. Then the automated cutting arm descends and cuts each billet down into many braces, to be separated later. The customized tooling used here is made in-house.
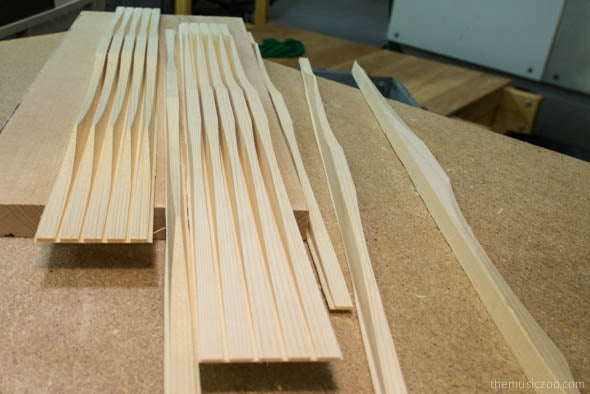
The customized form cutters give the bracing a “V” shape. It’s perfect for both strength and lightness.
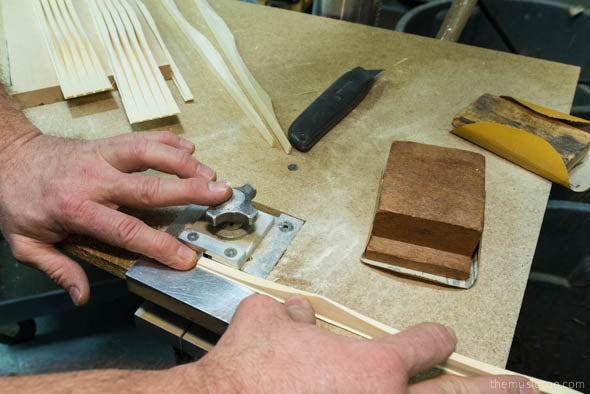
The braces are trimmed, and flap sanded.
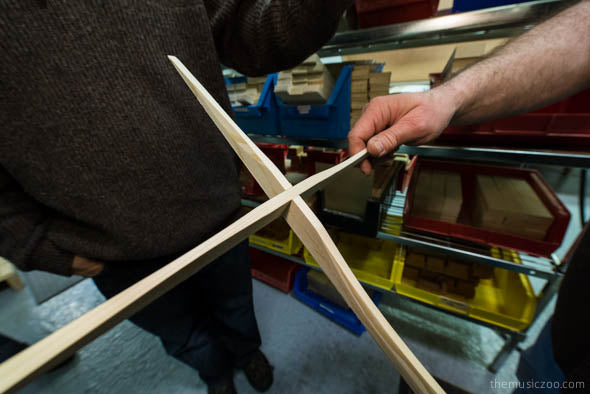
Finally the finished braces are notched so they fit together perfectly. Boom.
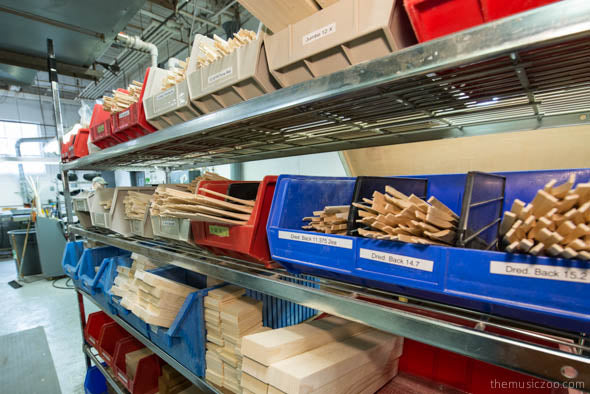
These braces are organized into a “bucket system” that is shared in the body assembly area. The builders there have all these same buckets, and when they run out of parts they simply come over here and pick up a new one. Likewise, workers can see when they should run some more parts if their buckets are getting low.
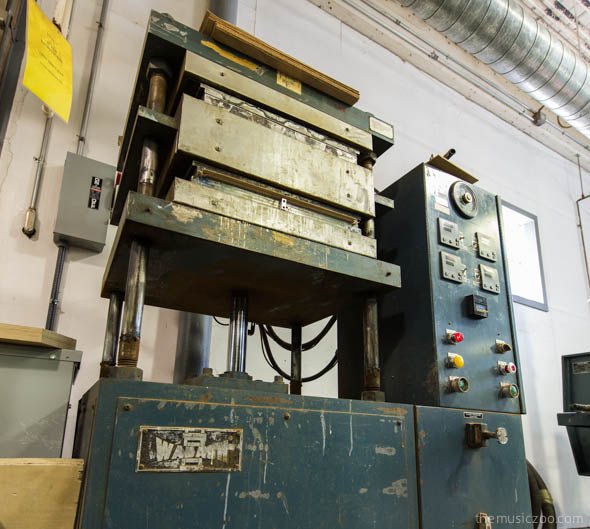
This press is the oldest machine in the joint. It’s a heated 30 ton press that came from the old ’60s era Guild factory in Rhode Island. It’s still here pressing the backs for certain Guild guitars, but we included it because one, it’s cool…
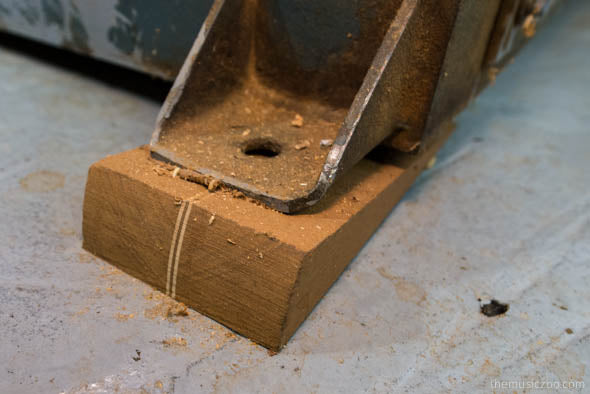
…and two, we noticed this shim under one corner of this beastly press looked an awful lot like a guitar neck. Apparently all over this little town of New Hartford, you can randomly find these doorstops that were made here over the years from scrap Ovation necks. Darren has even noticed them holding open the doors at his daughter’s elementary school.
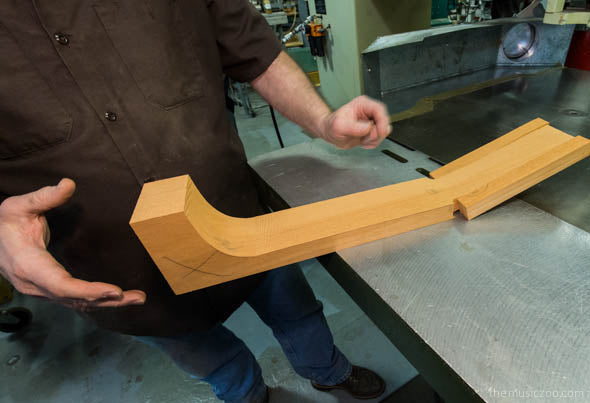
Speaking of necks, this one looks a little hard to play. This is a very rough cut neck blank (for a Guild, the Fender headstock isn’t so wide that it would need the extra “ears” glued on like this).
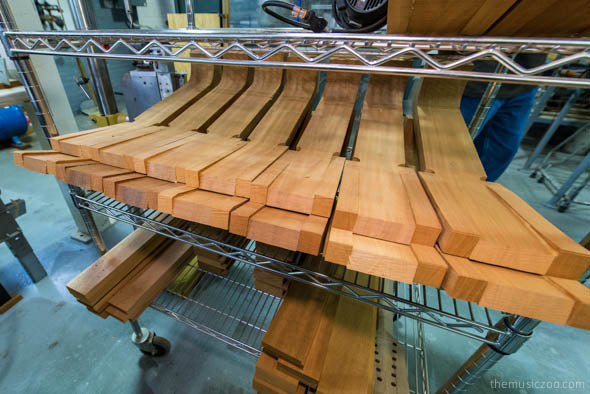
More neck blanks awaiting the next step. They don’t look scared, but we would definitely be having nightmares if we had to come face to face with this monster…
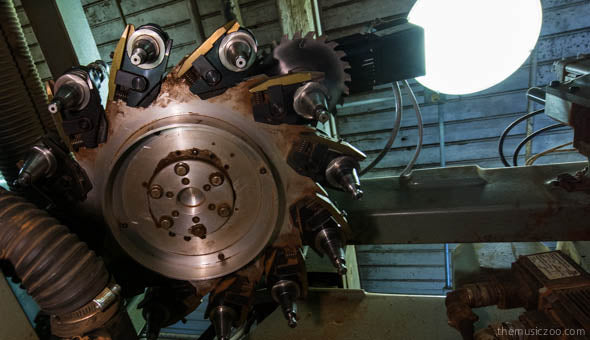
This is the terrifying view from the neck’s perspective inside the large multi-axis cutting machine that will take this next blank to the next level. It can rotate and create complex, precise shapes that previously only could be done by hand.
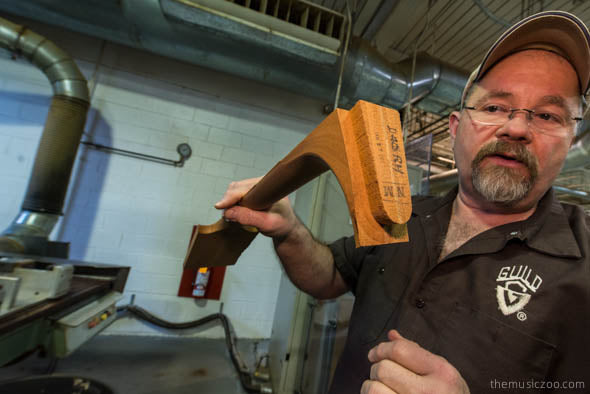
The neck will get a final hand-shaping later but it quickly gets its machine-assisted bold new shape. The heel is cut at this time also.
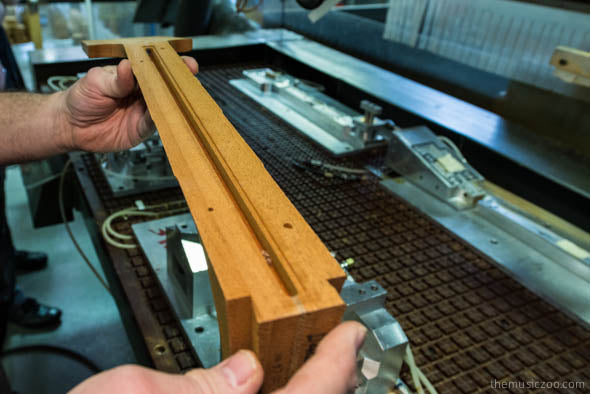
The same cutter can take care of the route for the truss rod as well.

Fender necks have Fender headstocks of course, and the holes for the tuning pegs are drilled first to ensure that the pegs are perfectly positioned relative to where the fingerboard will exist.
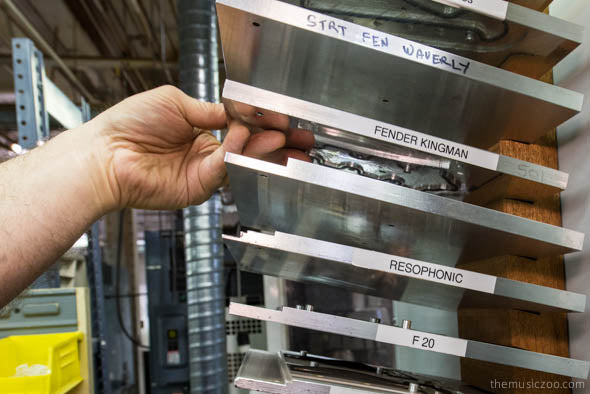
Then, it’s time to carve the headstock shape. Every model has its own master template.
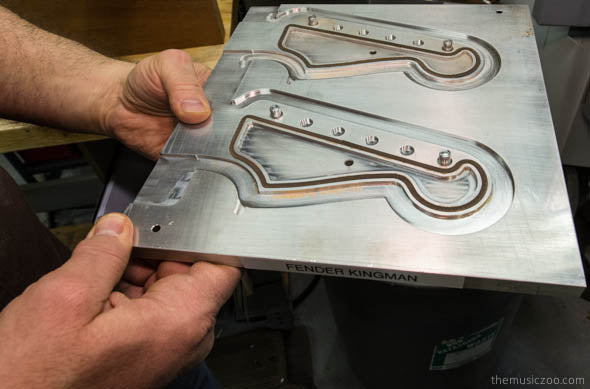
The Fender Kingman is a big part of this new Custom Shop revival; the Stratocaster headstock is unmistakeable. The first and sixth hole they just drilled will act as locating holes for the pins on this template. Then an operator can just follow the guide with a router and then, like magic, it’s officially a Fender.
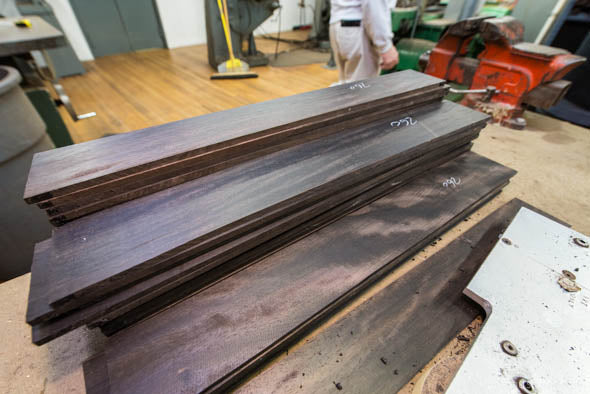 Earlier we saw some fingerboards that had been profiled and routed for inlays. Here’s the ebony used to make them. Very dark ebony is no longer a viable option for production guitars. It’s just not available anymore due to global overharvesting. Fender is doing the right thing by using the more plentiful types of ebony on their high end models. It sounds just as good, it’s better for the planet, and we think it has a cool look of its own.

This machine is knocking out the fret channels on four fingerboards at once. These days, all the channels are cut by the same blade and can be a uniform size.
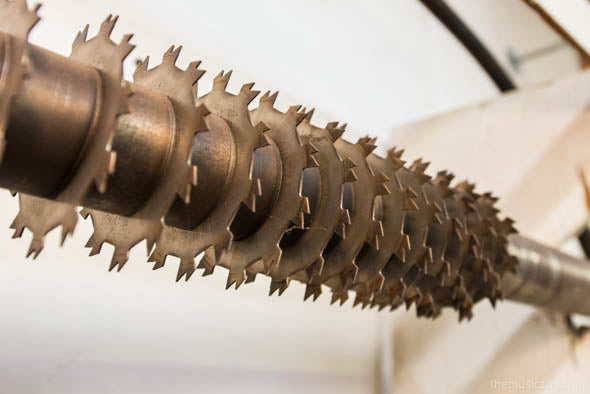
But that’s not how it used to be. Back in the day, each successive fret required a slightly wider fret, and therefore a different blade. That’s what this was made to do, and it cut one fingerboard at a time. It’s still hanging around for when they need to do a reproduction piece, or just scare people.
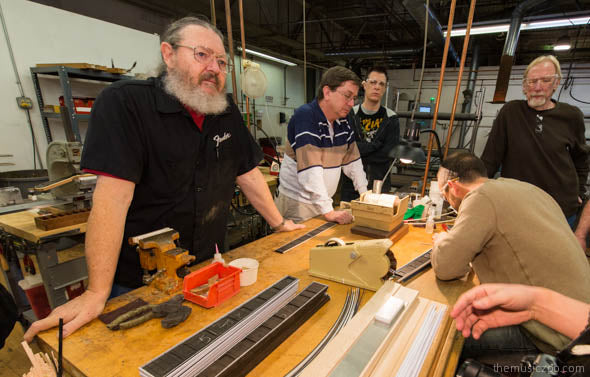
We’ve mentioned Ren Ferguson. Here he is (far left) overseeing the construction of some fingerboards for the model he’s designed for Fender. Ren is the lead builder for the entire Fender Acoustic Custom Shop, and brings decades of experience to the table. We’re looking forward to working with him in 2013 to create some very special pieces for The Music Zoo.
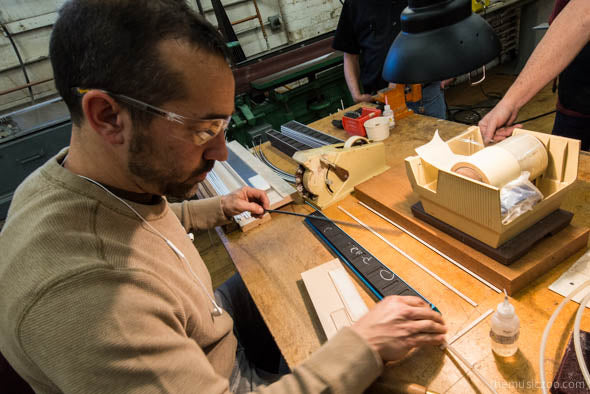
This builder is going to install the inlays and binding on the fretboard.
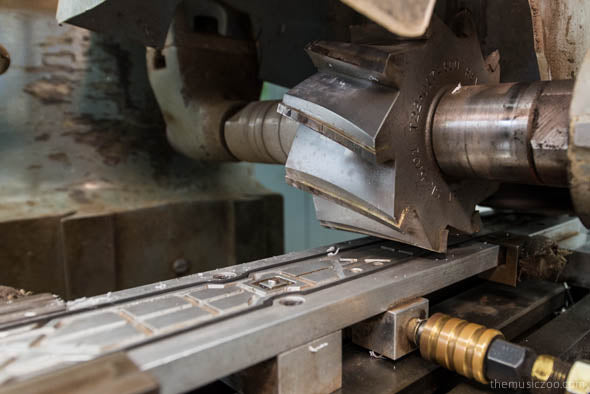
Yeah, you’re gonna want to keep your hands outta there. This monster cutter planes down the completed fingerboard to achieve the 10″ radius that Fender uses. You can see the subtle curve on the blade that will give the fingerboard a gentle roundness from side to side.
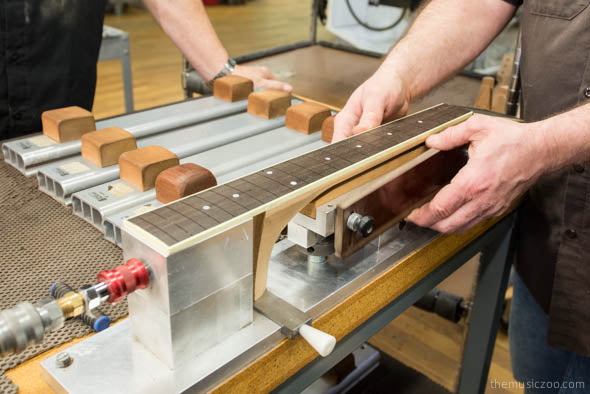
This fingerboard has been planed and glued to a neck. Now, it’s time for final sanding on the surface. It’s got to be perfectly flat from end to end. Builders use a straight edge and backlighting to look for any low spots and hand sand it with progressive grits until a flat, perfect playing surface exists.
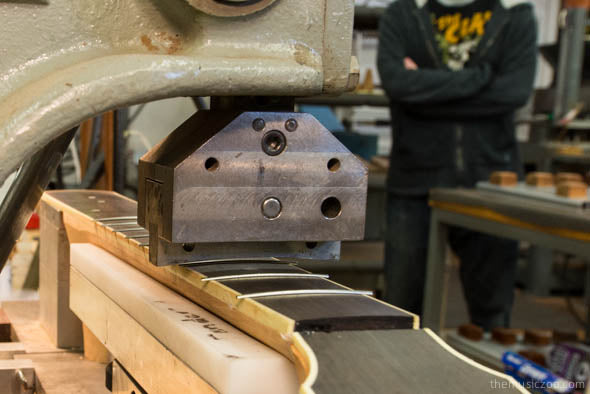
Next stop, frets. The frets are pressed into the channels by hand with this lever press. It takes feel to do this right. After this is done the worker will use powerful pneumatic snips to bite off those protruding fret ends.
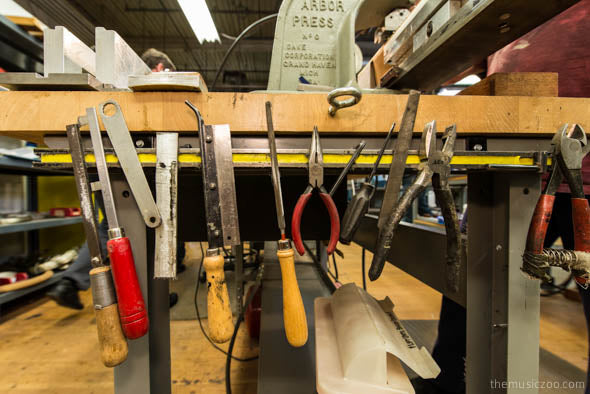
Tools of the trade. These builders each need to know how to do many of the steps in this area. It’s not so much an assembly line process as it is a workflow that is managed by many skilled builders.
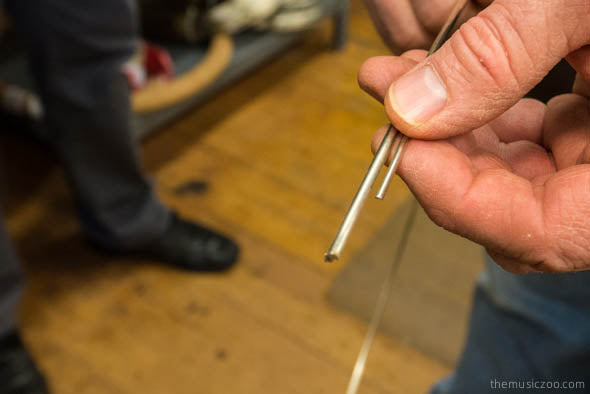
Off topic: speed picking Swedish shred-Yoda Yngwie Malmsteen still has an Ovation signature model acoustic guitar made here. On the right, normal size frets. On the left, Yngwie size frets. Holy crap.
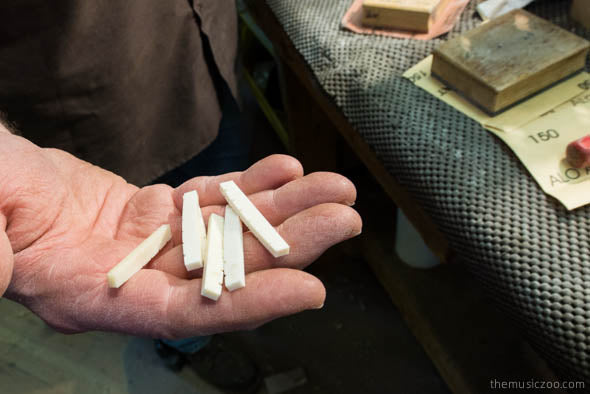
One more key component is required, the nut. All Fender Custom Shop Acoustics feature a bone nut for maximum tone. You ever smell bone being cut? Think burning hair. Old school.
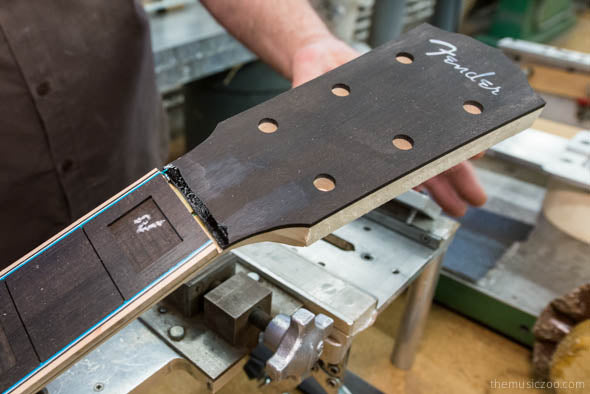
They’ll route the slot for the nut after the fingerboard has been radiused.
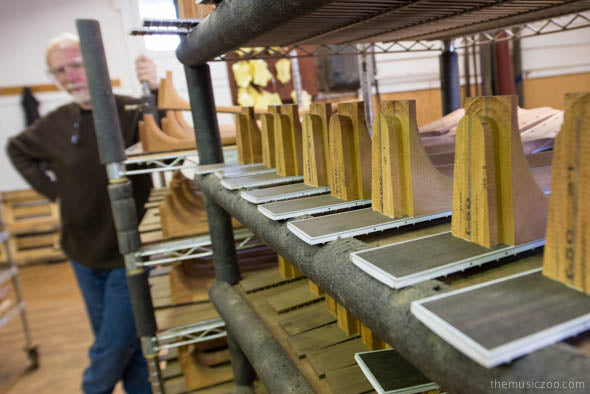
These necks are done and now waiting to meet the body of their dreams. In the 3rd and final installment of the Fender Custom Shop Acoustic factory tour, we’ll check out body assembly and finish. Part Three


