Factory Tour: Jackson Custom Shop
It would be hard to convince us at The Music Zoo that any of the other high-performance guitar builders that exploded onto the scene in the early 1980s has had as lasting an impact, or reached as breathtakingly as high a peak as Jackson guitars has. Who could argue with Randy Rhoads, with that pointy headstock and those sharkfin inlays? Add a neck-through body, don’t forget an optional outrageous paintjob, and all of a sudden those old farts playing guitars from the 1960s looked positively ancient. Fast forward over 30 years: Jackson guitars is still killing it, along with longtime stablemates Charvel and new family members EVH.
We’re tempted to say they have reached a new pinnacle, now that they’ve built themselves a brand new Masterbuilder mill area and centralized their Corona, California production line. Jackson and Charvel have shared their facility with the mammoth Fender operation since 2002, and until now they’ve had to make do with a relatively inefficient and spread out workflow that, frankly, must have been kind of a bummer. But with the addition of some very cool new Haas CNC machines and the centralization of every Jackson, Charvel, and EVH build process into one brand new area, these guys are hitting on all eight cylinders for 2014. They’re excited about it, and invited us to come check out their new digs. Come with us as we take a tour of the new and improved Jackson Custom Shop…
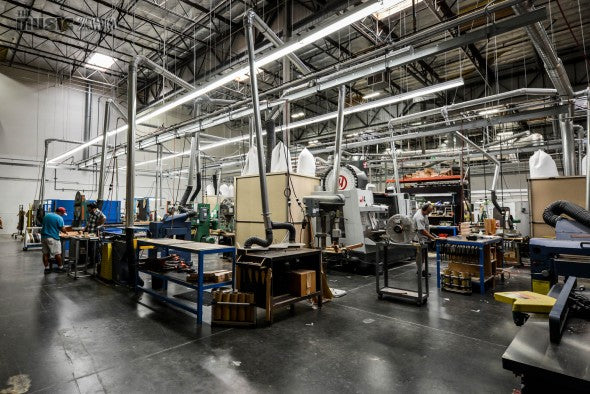
In 2013, this all new Masterbuilder mill section was developed to greatly enhance the efficiency by which the Jackson Custom Shop, Charvel Custom Shop and EVH guitars are made. It used to be that the Jackson and Charvel guys would have to run all over the huge Fender facility to build their guitars. Now everything is in one place, and they’ve got some very nice shiny new Haas CNC machines to boot. It’s a new era in here. Let’s check out the workflow.
This is Masterbuilder Red Dave. He’s the man. He’s been with FMIC since the ’80s and is a true wizard with custom inlay work. He’s showing us around the new mill area today.
Here’s where life begins for a Jackson. These stacks of alder are what will become the body center blocks and necks for the neck-through design guitars. We are also going to see bolt-on style guitars in process, which is more of the Charvel and EVH vibe, but first we will see how Jackson puts the famous neck-through guitars together.
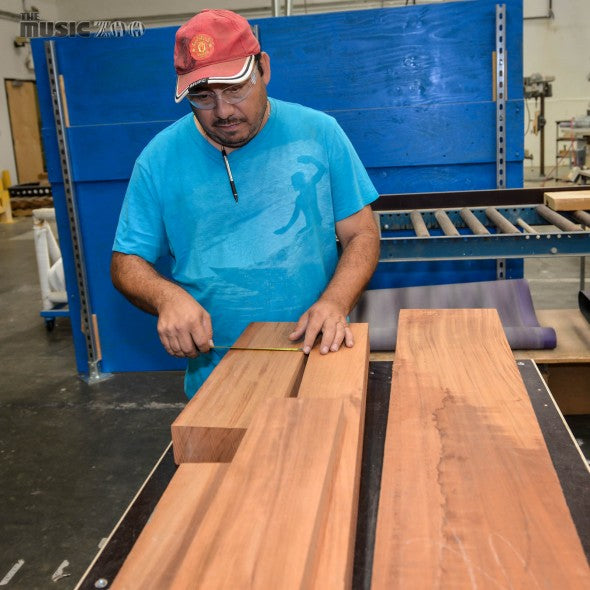
In addition to alder, mahogany has always been a standard wood for the Jackson Soloists. Enrique is selecting and matching up some body sections and neck blanks for those.
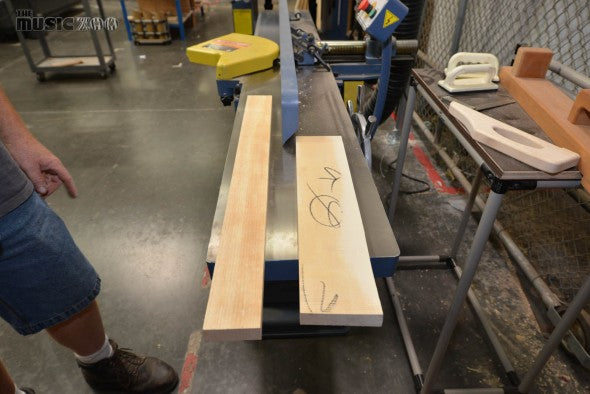
The neck blank and center body section are about to be run through this joiner, which will aid in the glue being firmly pressed in.
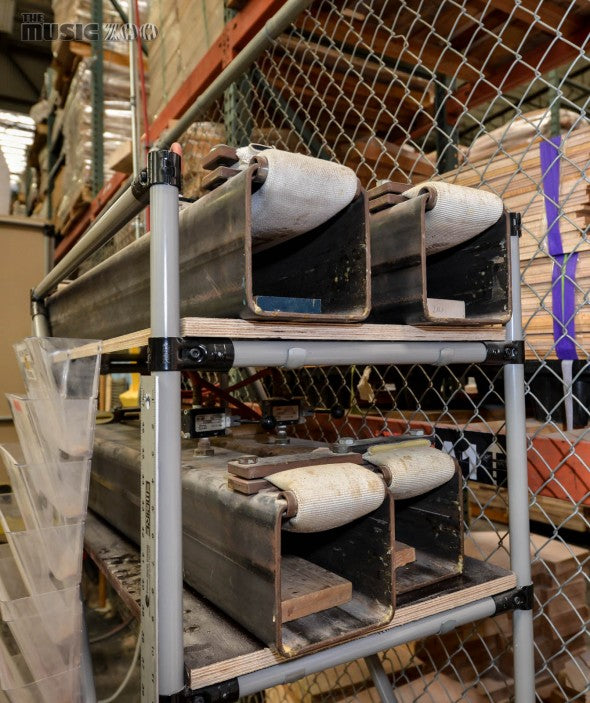
These custom made clamps use firehoses to apply lots of pressure to the newly joined neck and body woods to ensure a super strong bond.
And there you have it. Just tie some strings on there and play, right? Later, different “wings” will be added to this core unit to create the unique Jackson body styles.
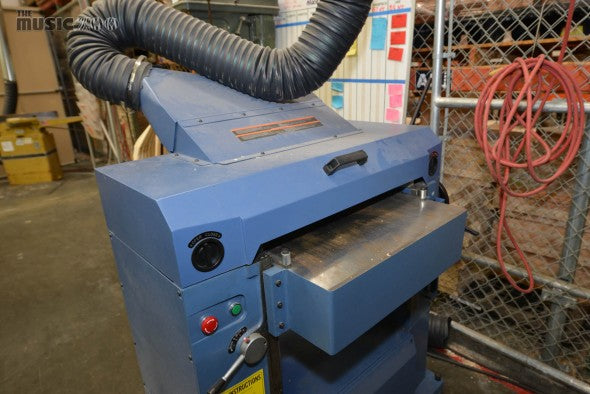
But first, those core sections need to be trimmed and perfectly straightened out. This machine will help cut the excess material from that unit.
Here are the clean and fresh core units after some milling. These are a blank canvas. Now the real fun can begin.
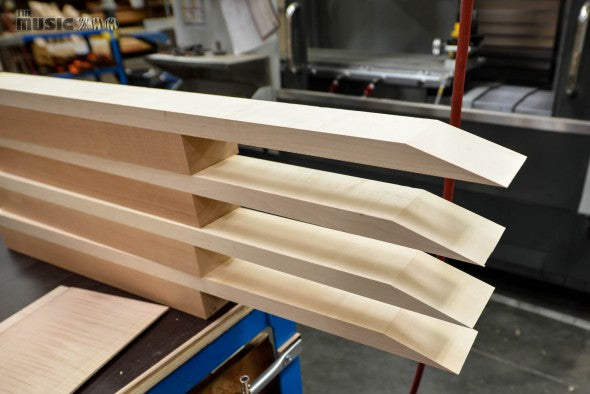
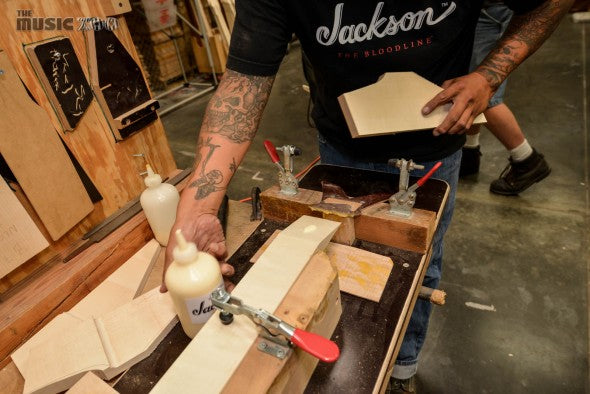
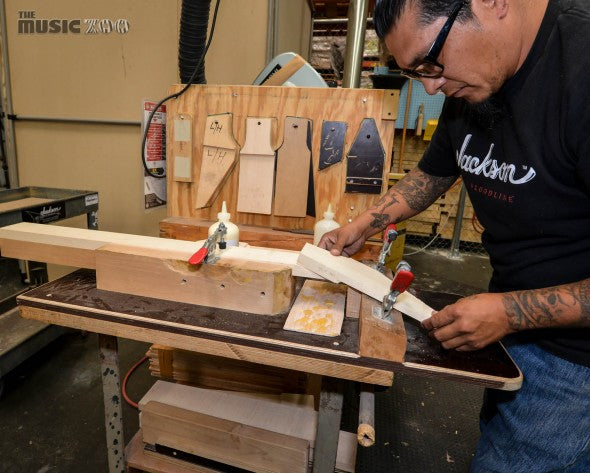
Time to glue on that famous pointy headstock, or at least the rough version of it. A dab of super strong adhesive spread thinly across the whole surface will create a bond stronger than the wood itself.
Various clamp templates are used to get the position of this rough headstock.
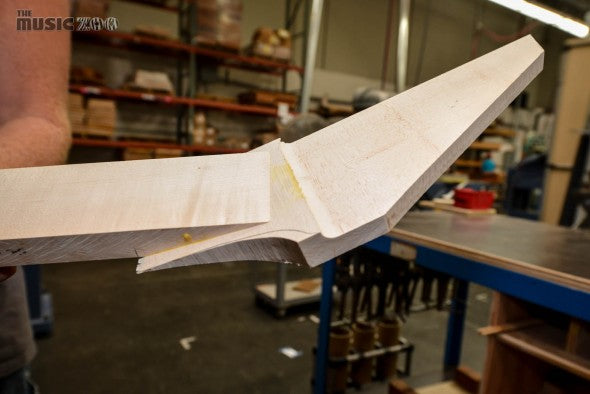
This is called a scarf joint. The neck and headstock materials are tapered to elongate the surfaces that are glued together. In addition to the added adhesive strength, this also creates a nearly invisible glue line once finished.
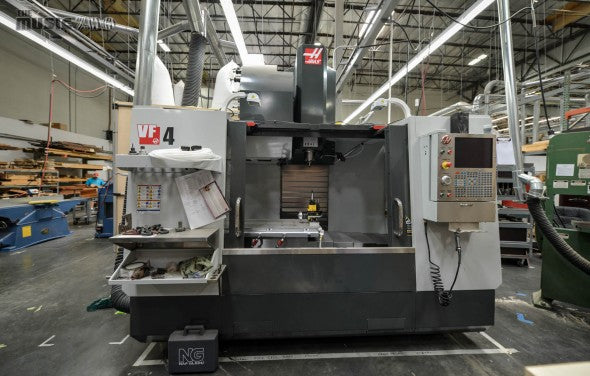
This is one of the newest Haas CNC machines in the building. It’s pretty bad ass, and these guys use it for a lot of stuff. It can cut the fretboard radius, fret slots, face dots, inlays, etc. on the necks, it can cut the body shapes, you name it.
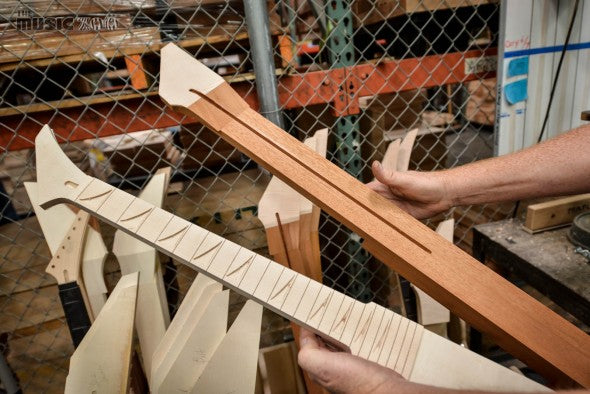
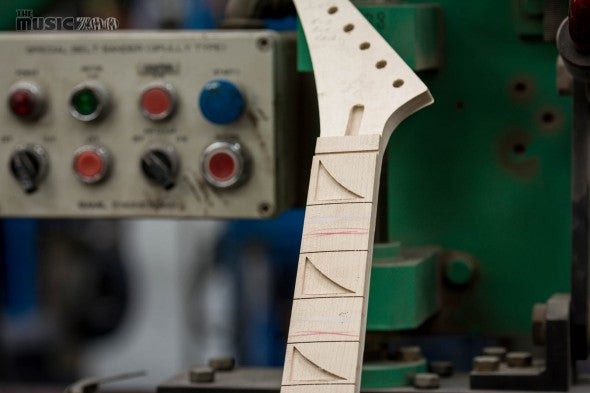
Here’s a great example of what the builders use the CNC machine for. On the right, a core section that has been through the machine to cut the truss rod route. Then on the left we see a neck after they’ve glued on the fingerboard; it has gone back into the Haas and the machine has cut out the headstock shape the fret slots, and even routed the holes for inlays.
Can’t forget about drilling the holes for the tuning machines, either.
These parts have been layed out to illustrate how this neck-through Jackson guitar will “get its wings”. These very roughly shaped mahogany sides will be glued on to complete this Rhoads V shaped body.
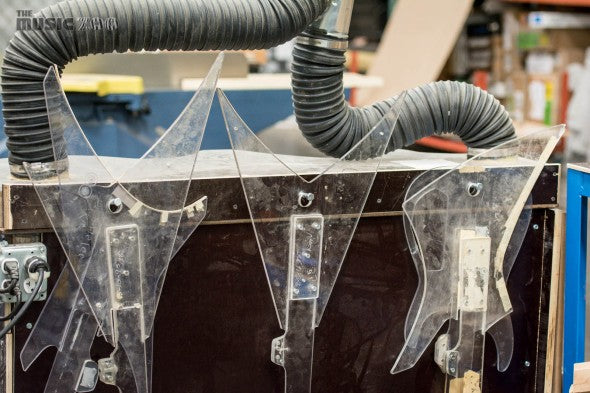
The team uses these acrylic templates to guarantee that the wood chosen will work for the desired body shape.
Look familiar? We spotted the templates for Jackson King V, Rhoads V, Warrior, Soloist, and Kelly models.
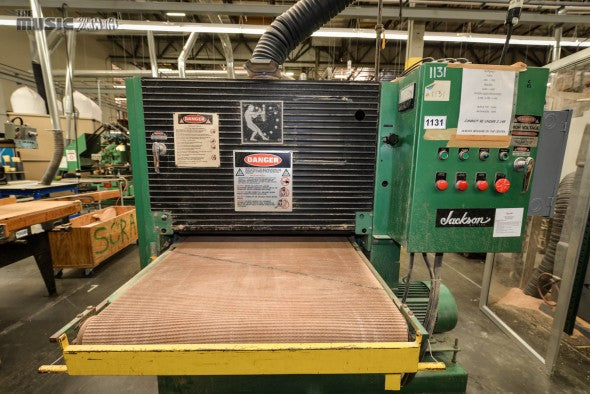
Some of the bolt-on style guitar bodies get a decorative veneer glued on the top, and others don’t. Either way, they all end up here. This is a thickness sander that will sand the bodies down to their specified uniform thickness.
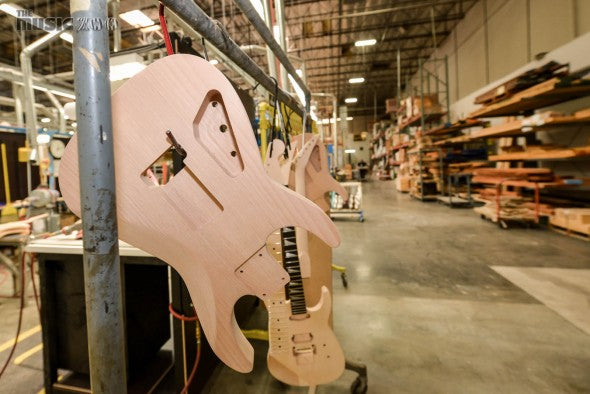
Smooth. The major wood shaping and milling is now complete on this body, time to start sanding.
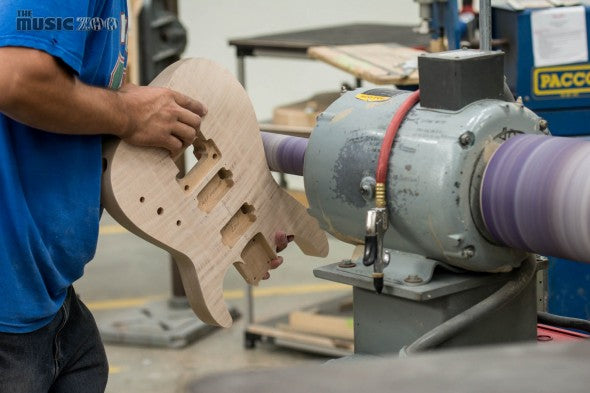
Here’s a Soloist style with the flame top glued on, already thickness sanded, and getting some finish sanding.
This builder has various power sanding stations to help get into every nook and cranny of the body.
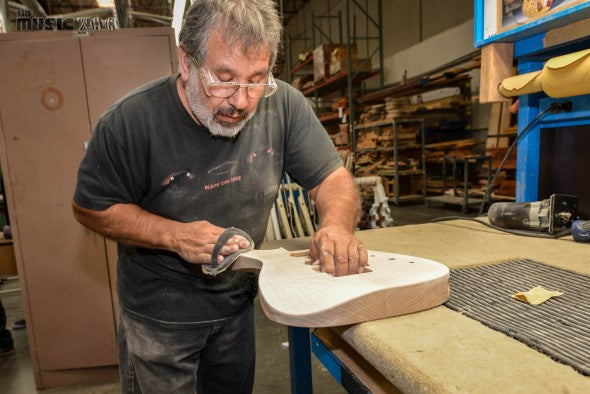
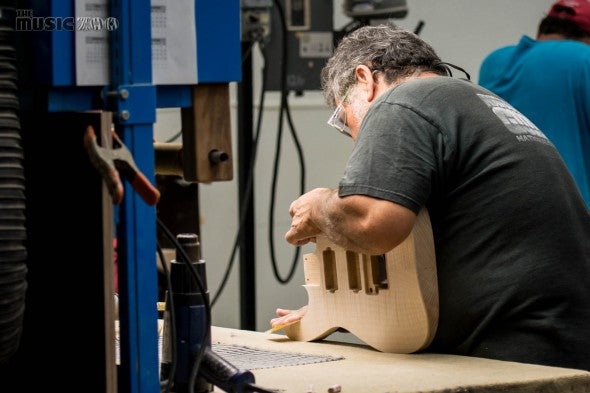
More hand sanding of the body. Thinking about building your own guitar someday? Buy sandpaper. Lots of it.
Did we mention sanding?! The wood has to be perfect before paint can be applied.
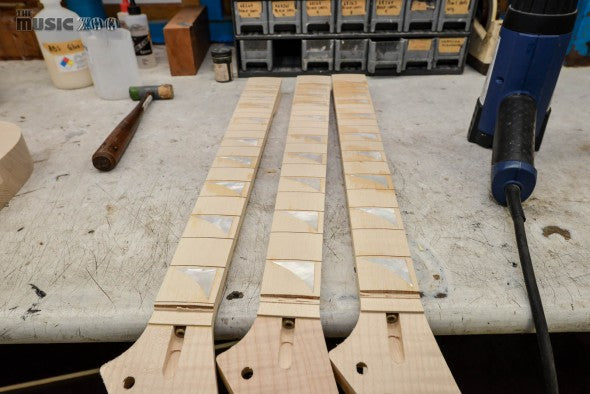
There they are, the famous Jackson sharkfin inlays. The CNC machine routes the fingerboards, then the inlays are applied by hand.
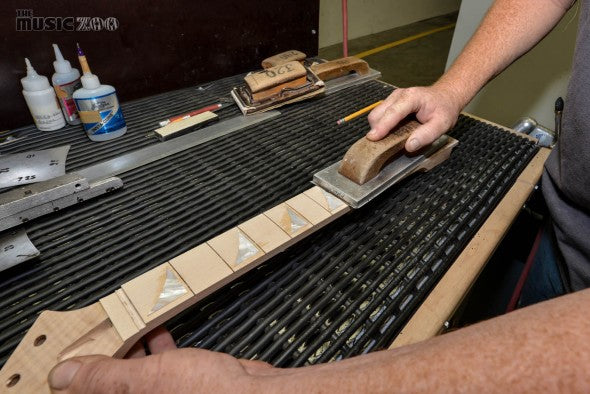
The fingerboard must be planed by hand after the inlays are installed. At this point the builder will drill for the side dots also.
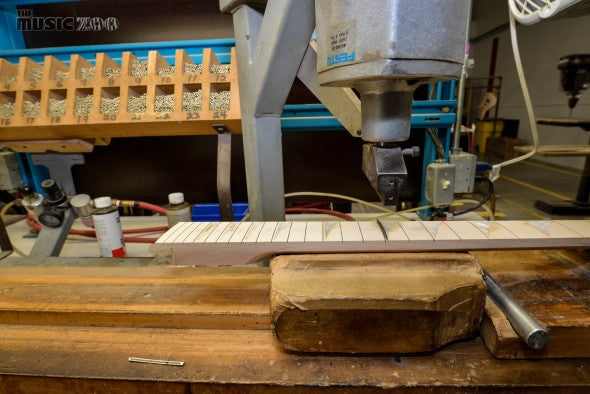
Here’s the fret press. Because each of the frets needs to be a slightly different size, the builders have 24 different lengths available to press in. This saves time trimming and wasting fret wire.
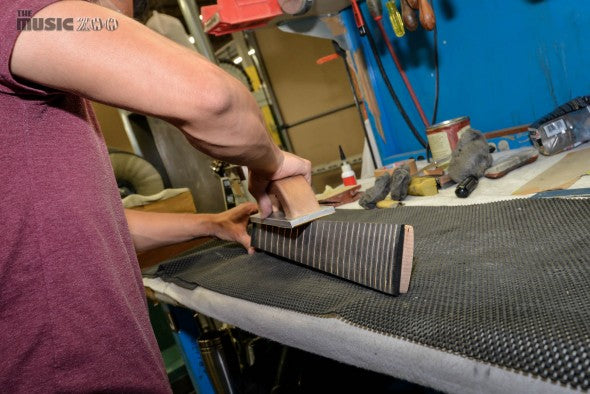
Once a neck has frets, fretwork begins. The edges are smoothed, of course.
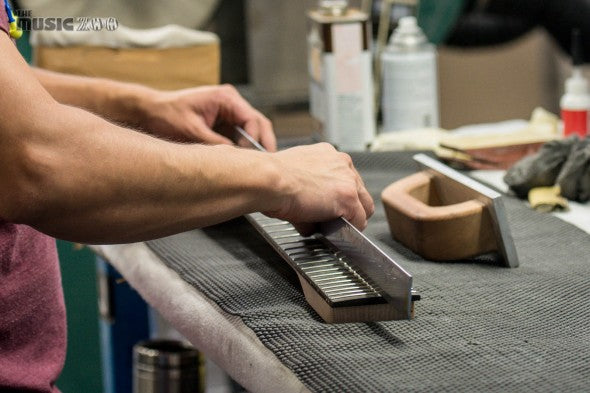
Just as important, the frets must be perfectly level from top to bottom.


