
Factory Tour: Fender Custom Shop Acoustics, Part Three
Factory Tour: Part One Part Two Part Three
In parts one and two of our factory tour of the Fender Acoustic Custom shop in New Hartford, CT, we saw how they pick tonewoods and construct all the parts required to build the guitar. Now it’s time to get down to business and we start with body construction.
These CNC side benders were designed and built in house. The 2 axis design allows for the waist bender (shown) to push the shoe into the waist, while mechanical arms wraps a sealed shim on the upper and lower bouts. The process including shutting down the heat is automated, allowing a worker to focus on other things during the process.

Here are some bent sides cooling in a rack.

Workers will use this fixture to join the two completed guitar sides by adding the head block and tail block. The white plastic parts are clamp calls, that assist with locating the parts.

Here’s the rim assembly process after getting removed from the fixture. The head and tail blocks are clamped onto the calls.
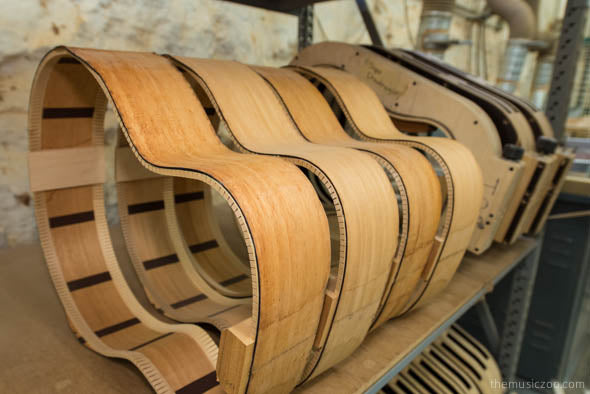
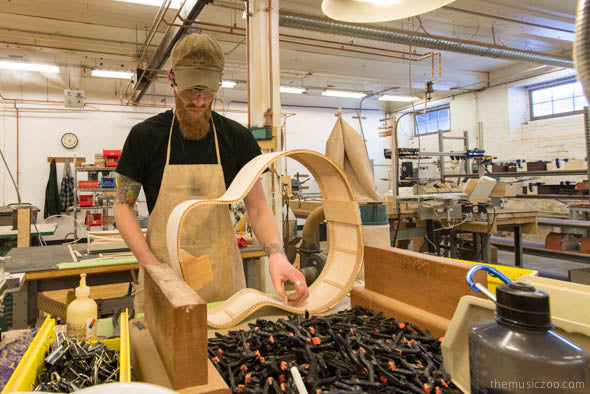
Here are some completely assembled rims with kerfing installed. These bodies are an OM style with wood sides stays (the brown lines inside the rim). The sides stays add strength. The collars used to shape these rims can be seen in the background.
Fender uses basswood kerfing in the guitars. It’s lightweight, easy to work with, and bonds well.
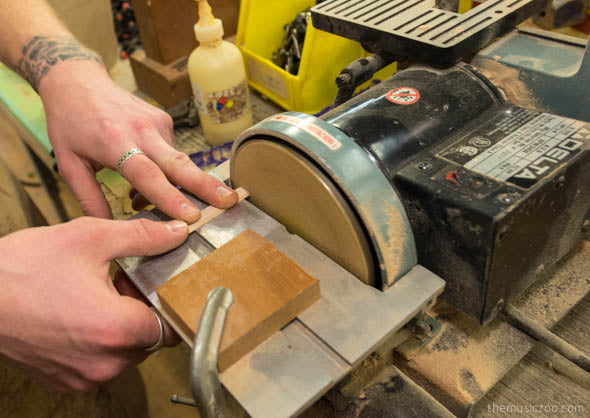
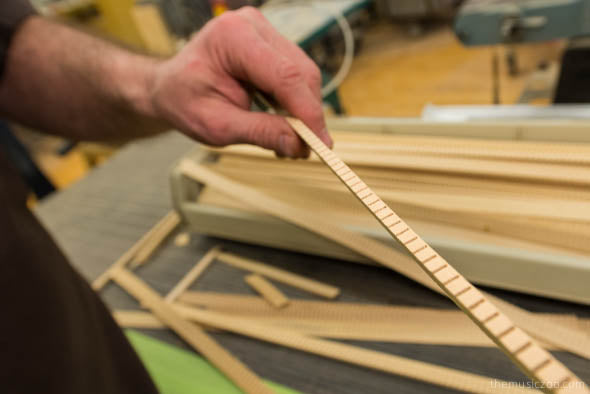
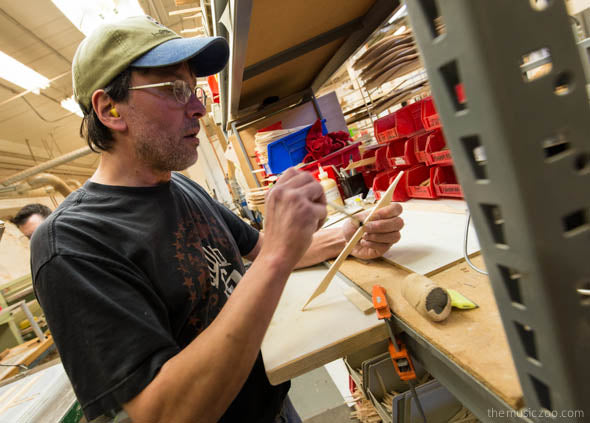
Here’s an individual maple side stay getting sanded. These have to fit between the kerf on the top and bottom of the rim.
Colin is bonding in the side stays using clamps.
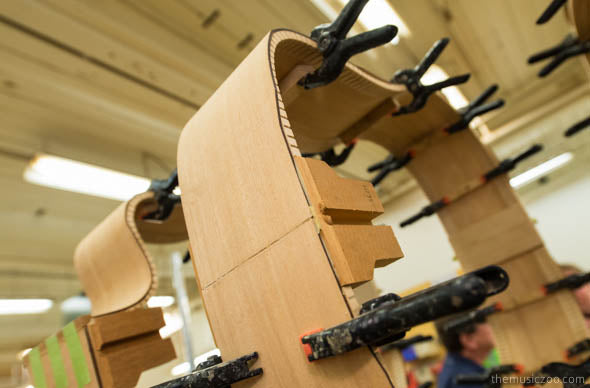
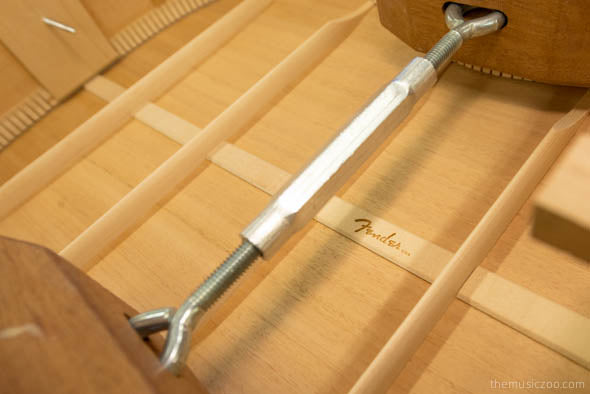
This shot shows the clamps in action, and also gives us a look at the truss rod access in the neck block.
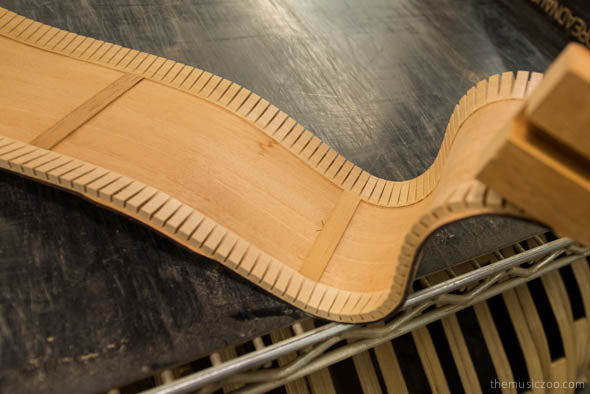
If you look closely at the near edge of the rim, there is a bit of wood that protrudes past the kerfing. This “stand off” is lasered in when the side is cut. In the next step, the stand off is used to locate the specific position of the assembly once it is placed inside inside the collar.

The position of the rim inside this collar is important, as you’ll see when the part gets sanded.
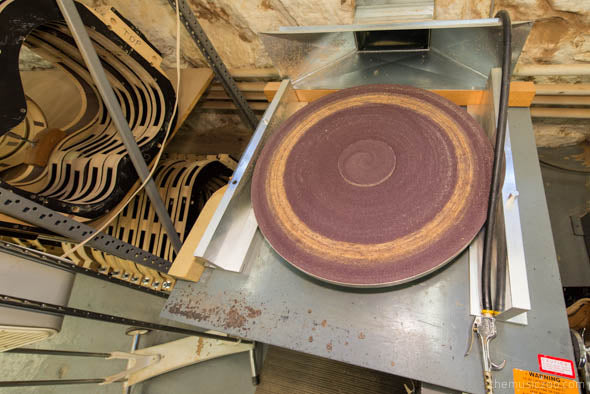
Fender has three of these disc sanders, they are used to sand a specific radius onto the rim’s edge. This is what helps the top and back of the guitar have a very subtle shape. This one has a 30 foot dish radius and is used to sand the edge for the top of the guitar. For backs, they use one with a 16 foot radius, and there is a flat one too for guitars like carved top jazz guitars, where the top or back is naturally arched.
Remember the stand offs we saw on the rim’s edge that help locate it in the collar? Here’s where they get sanded off, as the collar is placed on the aluminum blocks to rest at the exact right height.
Here’s the interior of the guitar during fitting, complete with the laser Fender logo.
Here’s Marty applying some glue to radiused braces for the interior of the guitar.
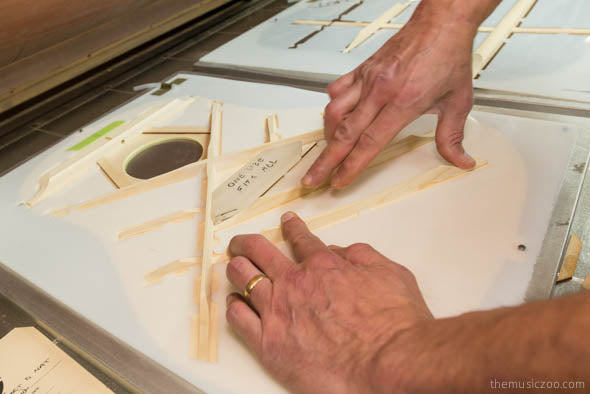
This white locator is used to show where to attach the braces to the top. It has holes in it that the braces fit in precisely. Not all the braces are bonded at once, about half of them in one pass then the other half.
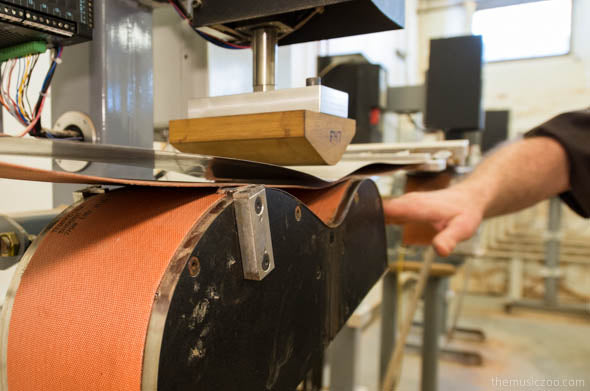
This vacuum membrane bonder will lower over the braces and suck the parts down tightly together.
Not only does the membrane apply very even pressure to the braces during bonding, it helps with the time required as well. In a conventional clamp these would need an hour of clamp time. In the membrane the vacuum action shortens that to 15 minutes.

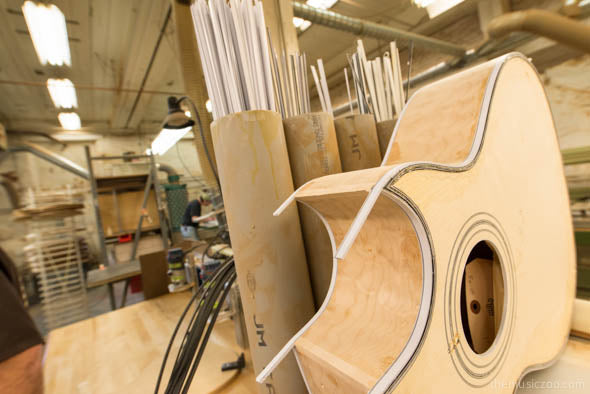
Here’s an Englemann spruce top, complete with bracing. Note the tabs on the ends, these will be used for more locating and then removed.
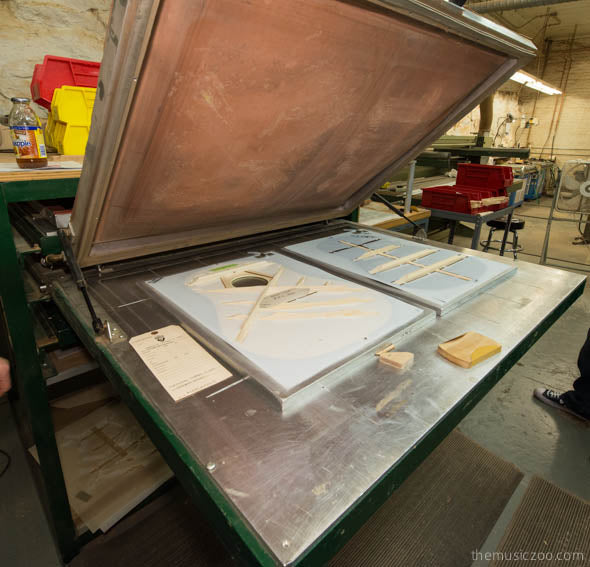
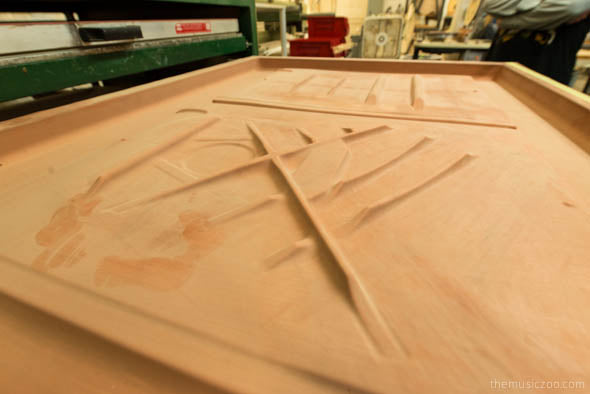
Next, the top and back are joined. This phenolic plate has the arch of the top carved into it, and uses vacuum pressure to hold the top in shape while the rim is joined.
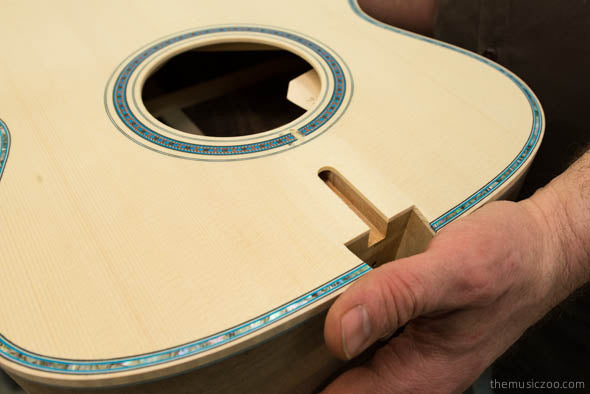
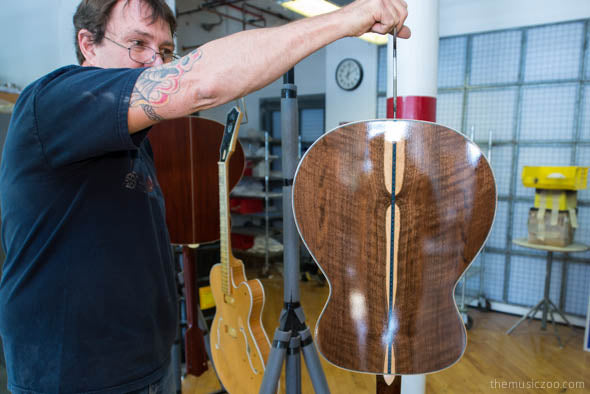
Darren is showing us that suble arch to the back of this guitar body, thanks to the 30 foot radius sanding disc. Fender makes a lot of effort to build the final shape of the guitar into every part, so there is as little stress as possible within the wood.
Here’s a nice look at a beautiful FSR built with claro walnut and a carpathian spruce top. Very elaborate purfling and rosette.
Dave the fitter is working on the neck fit. The tolerances are carved so tightly that he’ll end up using a clamp to drive the neck all the way home once it is in position.

Fender uses traditional hand fit dovetail joints for the neck fit. Dave is using a unique chamfered sanding block to get the shape just right.
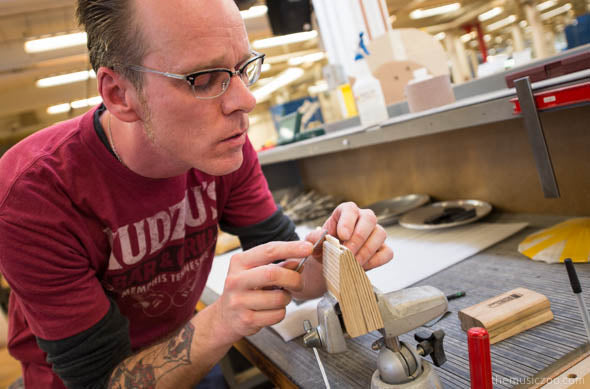
Now we’re in final assembly. Here’s Andy McDonald touching up the shape of a saddle. The saddle is what sits inside the bridge and supports the strings.
This is Mike Shear, the body department supervisor. He’s worked with Fender/Guild for years and has done bindings on thousands of guitars.
The binding process is hard, precise work. This is a Doyle Dykes Guild model with an intricate multi-laminate binding.

Due to the porous nature of a wood like mahogany, vinyl sealer is shot onto the neck then paste-wood filler is applied. A builder will apply the filler by wiping it on with the grain, then wiping it off against the grain. That way, he won’t strip out the filler he just applied.
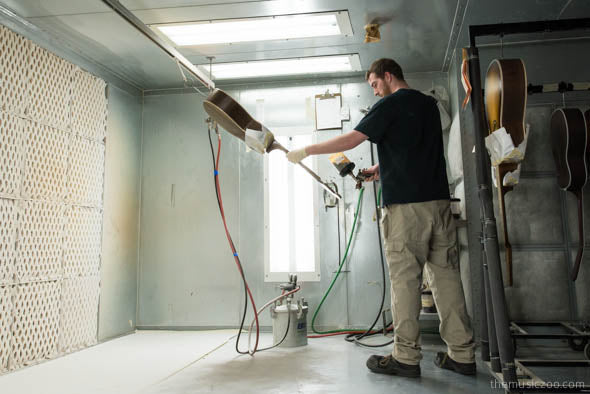
Here’s Drew spraying color onto the walnut FSR run of guitars we’ve been seeing a lot of today.
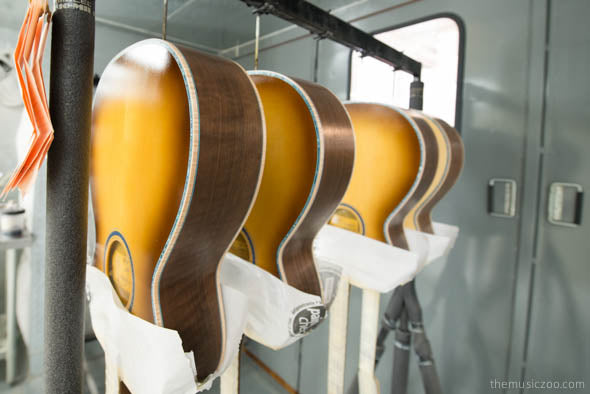
Some of these FSRs are getting a sunburst finish, while some (like the one in the back there) are staying natural.
The sapwood part of the walnut is the lightly colored area next to the darker hardwood. It’s bookmatched to great effect here.

After the guitars have been painted, the paint that has covered the logo, binding, and other decorative elements need to be scraped off. It takes a lot of concentration and a steady hand to do this job, and Leon has both.
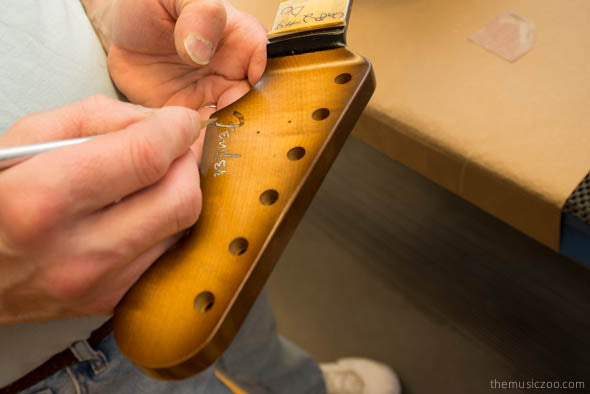
Scraping the Fender logo on this sunburst painted headstock.
This FSR has been scraped, and will now go to get clearcoat.
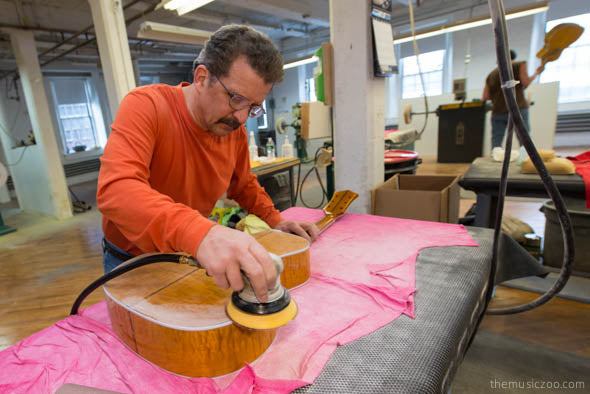
The painted guitars are left to cure for at least 2 weeks before they can be worked on. Jason here has been with the group for years also and is seen here sanding the clear. He’ll use gradually finer sandpapers to prepare the body for buffing.
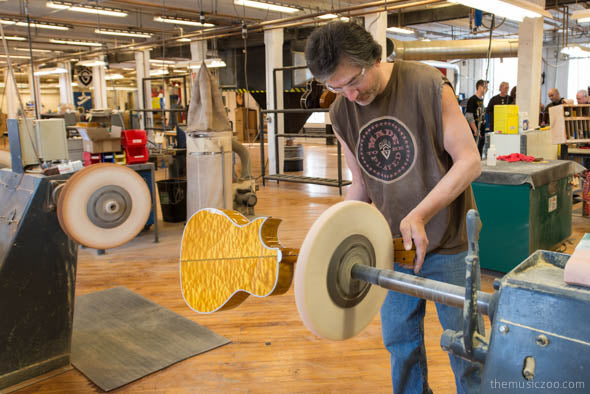
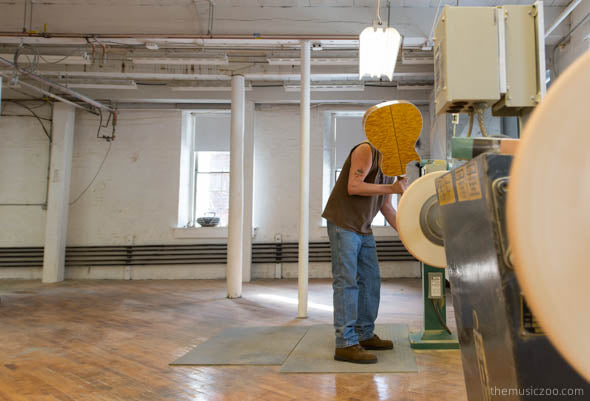
This guitar is being buffed by Todd, a long-time Guild guy who has been building guitars since the Westerly era.
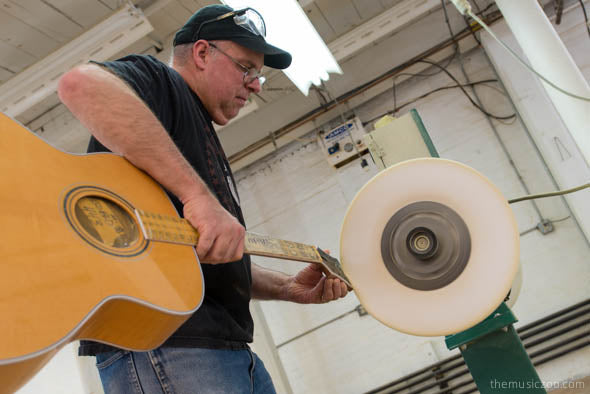
Lead buffer Chris is working the wheel on this headstock.
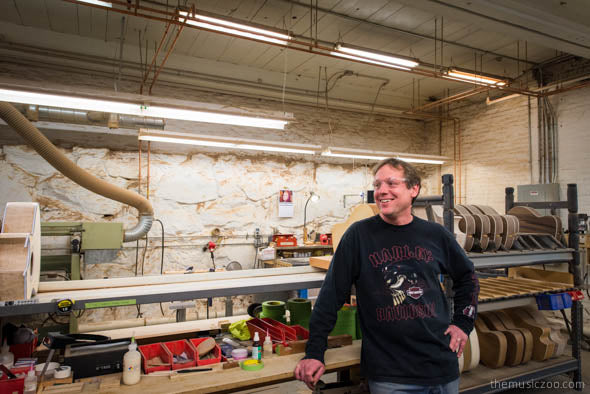
Some of these areas have been reconfigured since our visit; this area is now used for neck fitting. As we mentioned in part one, this antique building is huge and complex and it is easy as pie to get lost.
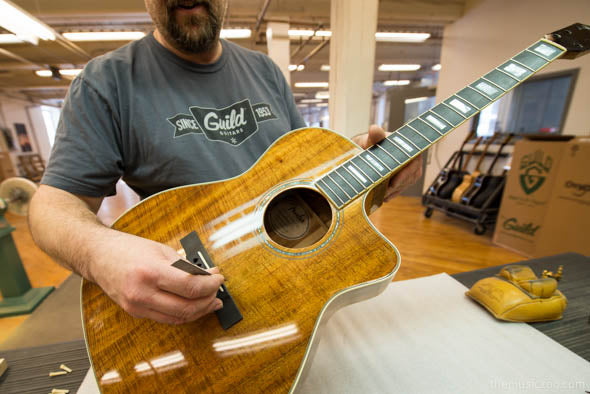
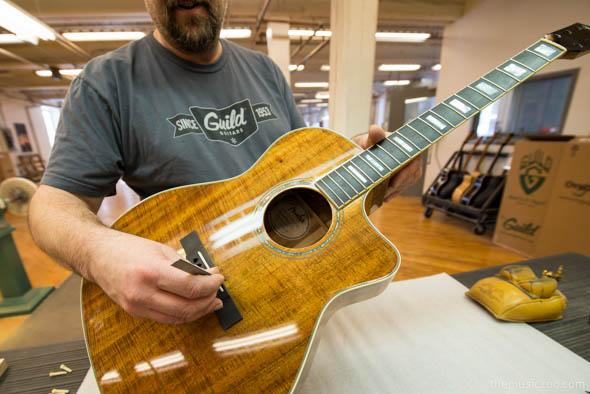
Final setup time. Chris Jarvis is shown here working on a Fender koa auditorium limited run.
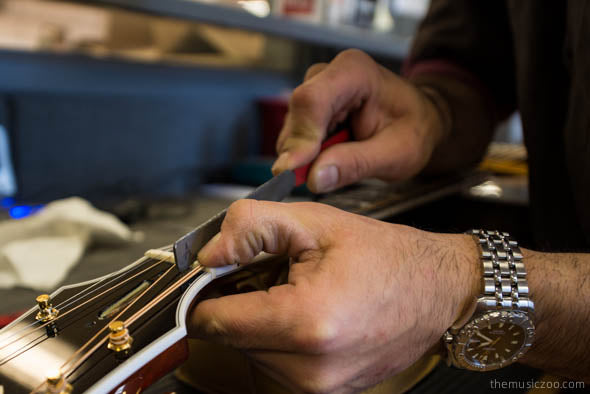
This builder is filing the nut slots. All the nuts used on Fender Custom Shop guitars are made of bone.

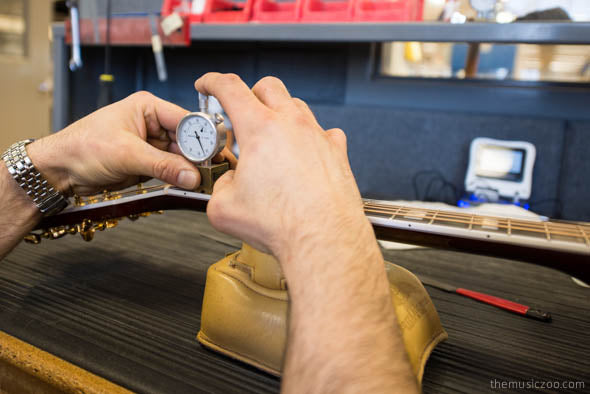
Bob is using a gauge to check the height of the string at the nut. This action at the nut is important for the playability of the guitar.
Dialing in the action.
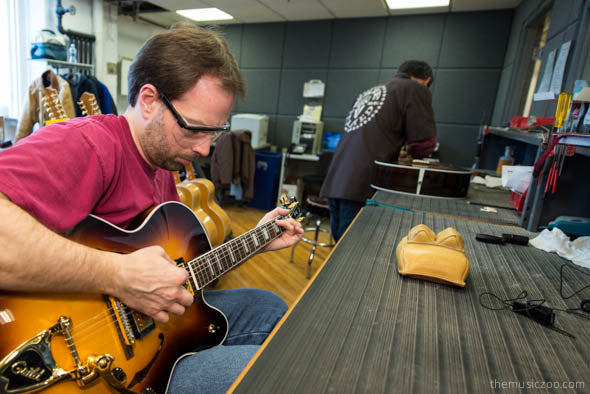
Here’s Phil putting a Guild archtop through its paces. All three of the guys in here can full setup and finish any of the guitars.
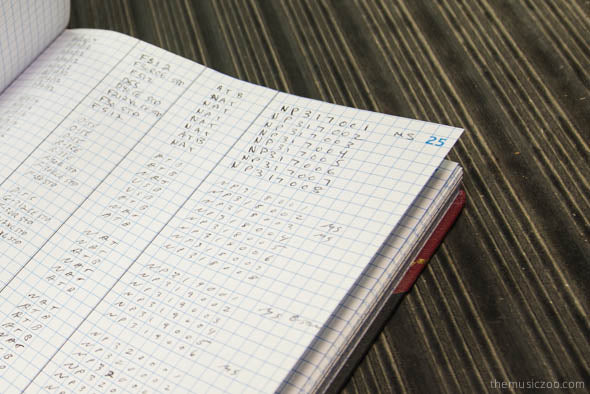
We liked this neatly organized, decidedly not digital ledger book. This book has literally every detail about every guitar built written into it, and as Darren Wallace said, it’s like “seeing your life pass before your eyes” flipping through it. The Music Zoo has been to a lot of guitar factories and we are genuinely impressed with the craftsmanship and attention to detail that the Fender Custom Shop is putting into this current breed of acoustic instruments. These are truly great sounding and authentically constructed guitars that we’re proud to carry at the shop. Thank you to Darren Wallace, Tim Shaw, Ren Ferguson, Gary Waugh, Sean Morrissey and all the other good Fender folks who hosted us for the tour. Want to see some Fender Custom Shop acoustic guitars that you could own now? Check out our current inventory.


